
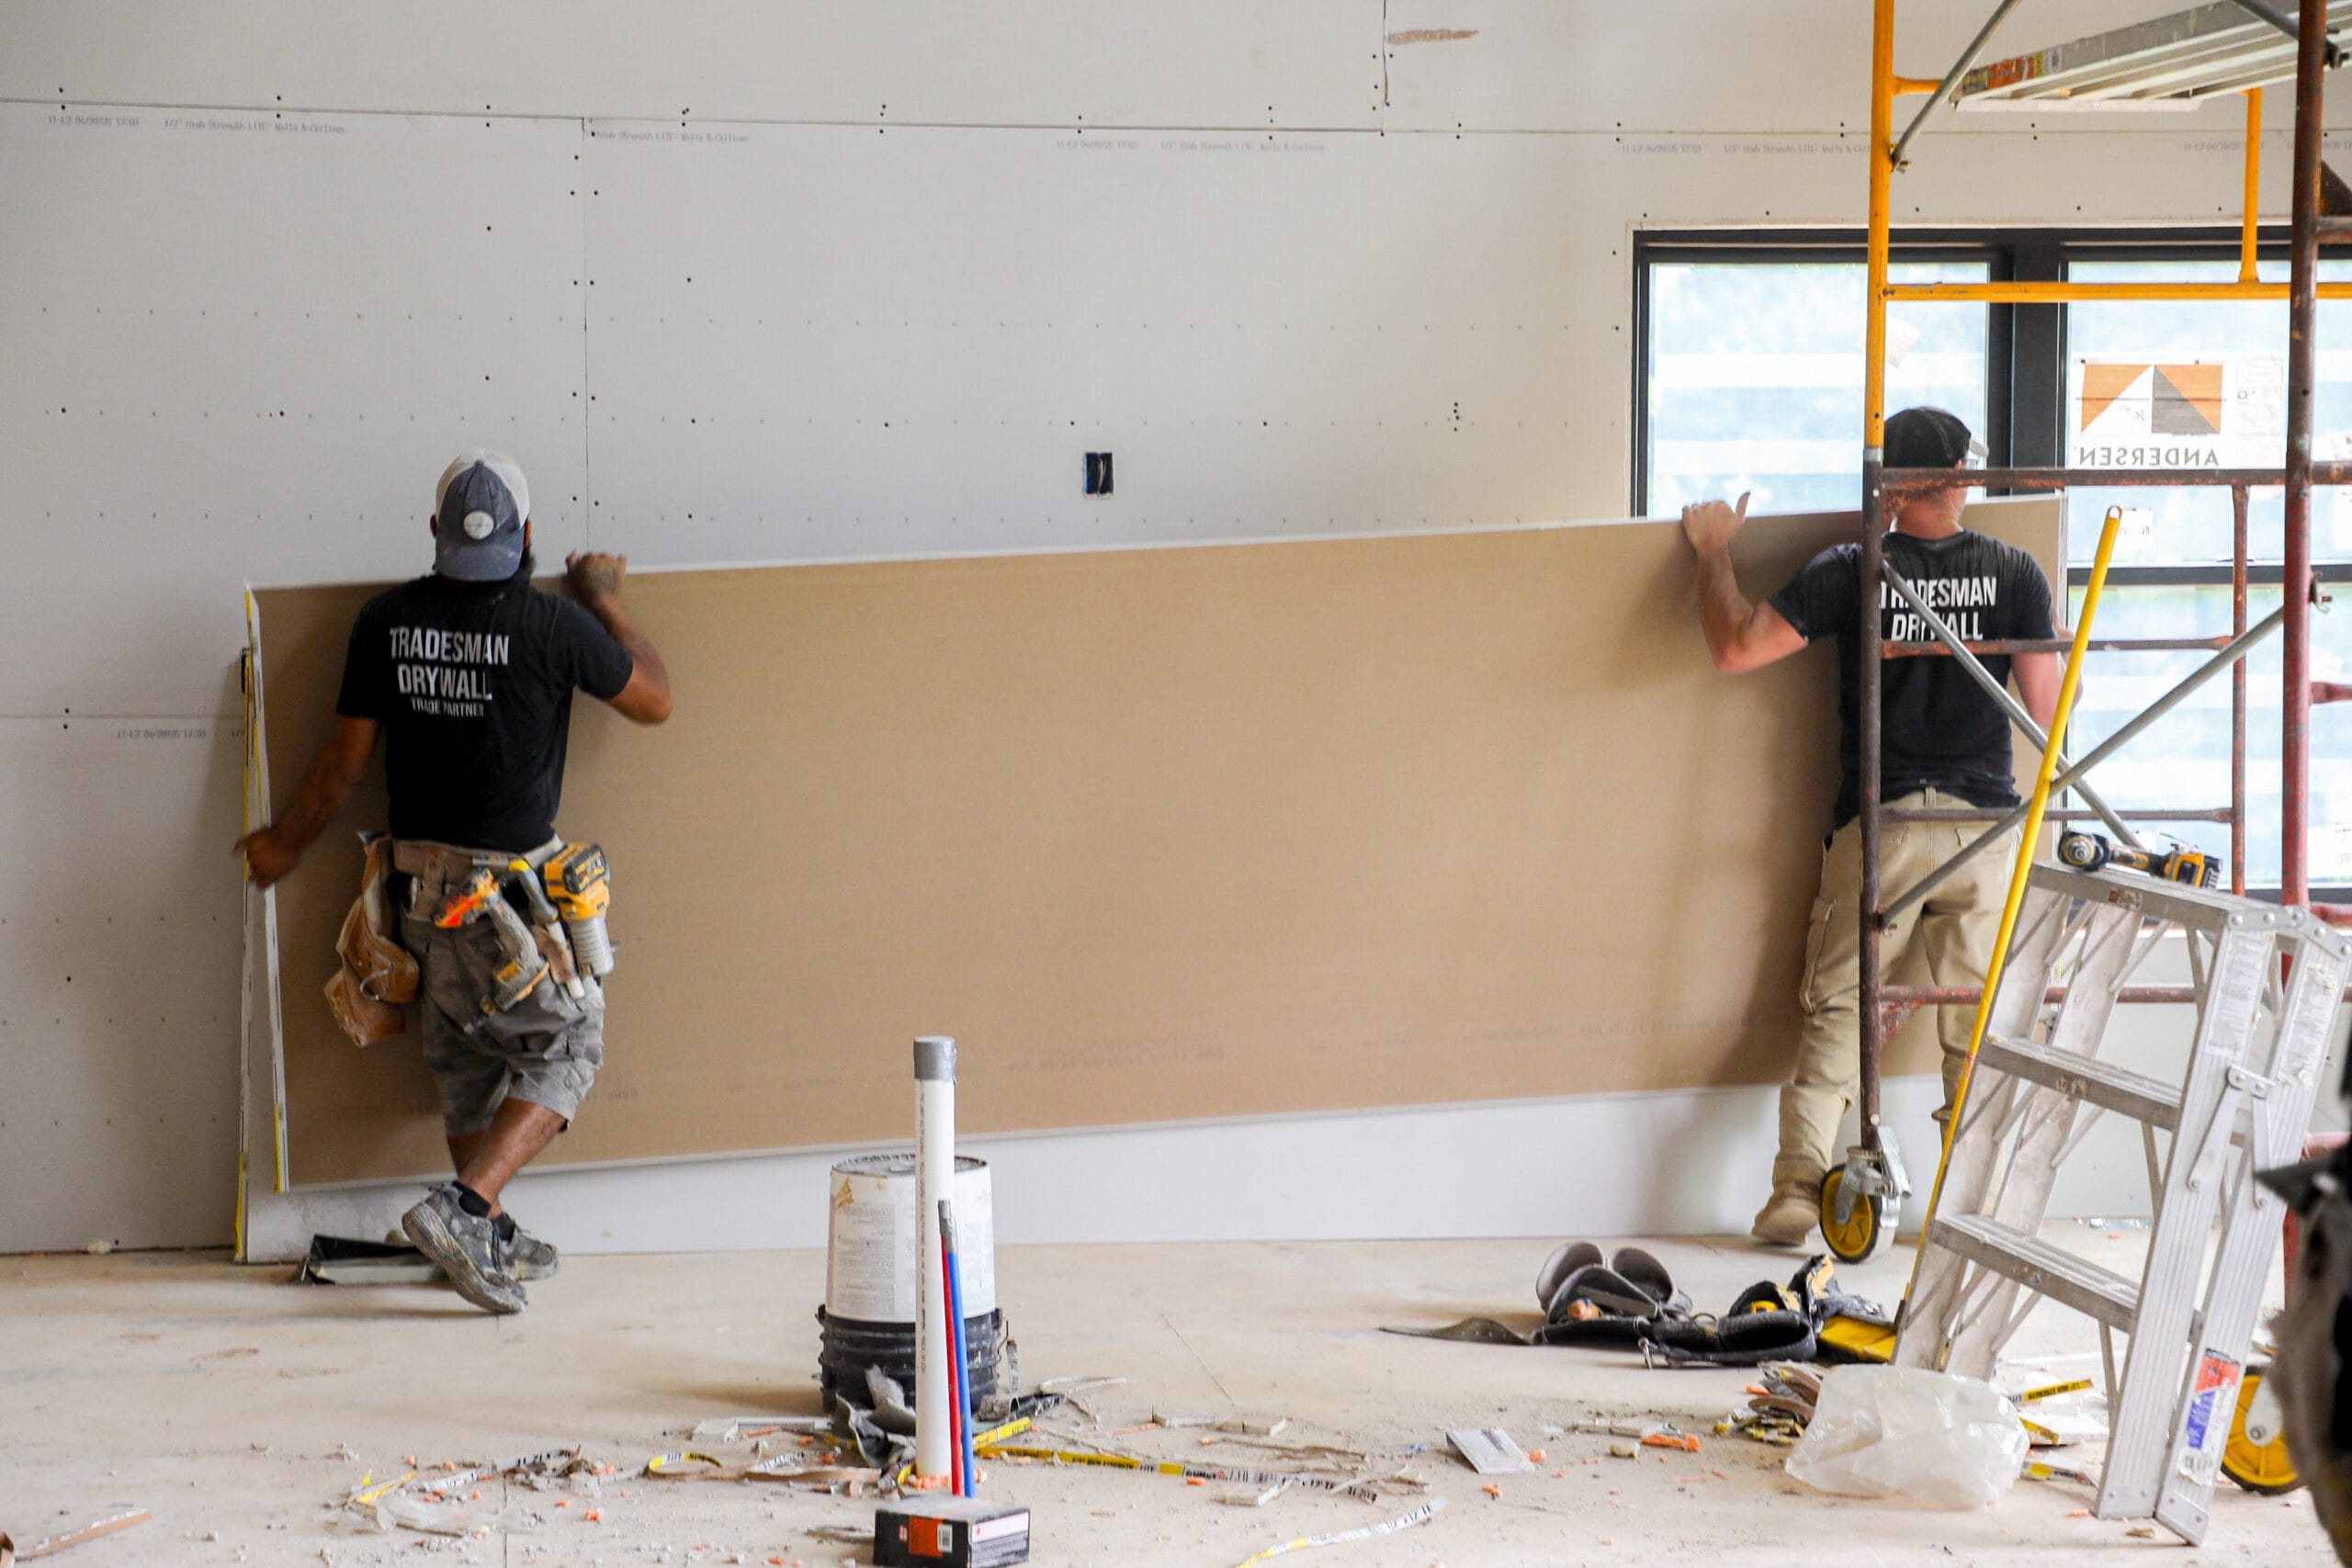
The cost of drywall installation depends on many factors. Projects of the same square footage can have totally different prices based on what type of materials are being used, the condition of the walls, ceiling height, and the amount of finishing work needed.
By understanding these variables, you can better compare quotes and budget accordingly. Whether you are putting in a new home, renovating your basement, or fixing damaged walls, there are several important details that drive the final cost.
1. Project Size and Layout
Square footage is the first thing a contractor will look at when estimating a drywall installation job. Larger rooms require more drywall material than smaller ones; however, larger jobs provide an opportunity for a crew to work in one continuous area of the room.
Layout of the room is also critical. Straight wall installations (or even near-straight) typically take less time to complete than multi-cornered installations that contain doors, windows, closets, etc. More openings mean more measuring and cutting. Additionally, each seam created by those openings will need to be taped and finished.
Typical drywall sheet sizes are 4 x 8 feet and 4 x 12 feet. Selecting the correct size for a particular job will minimize wasted material due to unneeded cuts. However, the choice will depend on the room's layout and installation conditions.
2. Drywall Type and Thickness
Standard drywall usually suffices for most interior walls, but moisture-resistant drywall is needed in many wet environments, and fire-rated assemblies may require special drywall products. Panels vary in thickness as well. Standard residential drywall is 0.500 inches thick; thicker panels (0.625 inches) are usually called for to achieve added fire protection, sound reduction, or to improve ceiling performance.
Local building codes, the wall or ceiling assembly, and the intended use of the room will influence your choice of product. If you choose to use a less costly panel, you could run into problems during inspections, or additional work will be required later to comply with regulations.
3. Ceiling Height and Accessibility
Installations requiring heights greater than average ceiling height (i.e., high vaulted ceilings) can be more difficult to access for installers. This situation can necessitate scaffolding, additional equipment, or increased labor to ensure safe positioning and securing of larger panels.
Additionally, drywall sheets for ceilings tend to run longer than those used on walls, which minimizes seams and gives installers one long, flat surface to work across. When ceilings have slopes, angles, or unusual architectural features, it increases the complexity of the installation.
Access to drywall materials can also influence the estimate. For example, moving materials down narrow hallways or up stairs can extend handling times. In addition, limited storage space for materials can slow down the installation process.
4. Framing and Surface Preparation
Drywall has specific requirements regarding its substrate surface. Damaged framing members, uneven stud spacing, or damage to studs mean additional prep work before properly laying out and installing panels.
In new construction situations, framers are usually able to deliver uniform working conditions. Renovation projects are more unpredictable. Removal of old drywall, disposal of demo material, repair of damaged areas, and navigating around existing plumbing and electrical components can all contribute to both labor hours and dollar amounts added to an estimate. These costs will depend upon the condition of the space and the scope of work outlined in the original estimate. An estimate covering only panel installation will likely require a different level of labor involvement than an estimate including demolition and repair work.
5. Taping, Joint Compound, and Finishing
Installation of drywall panels is only half the battle. Joints created by panels must be taped and filled with joint compound, sanded smooth, and ready for painting or another wall treatment.
The amount of time required for finishing depends largely on the level of finish you want. The Gypsum Association defines six levels of drywall finish, ranging from Level 0 (no finishing at all) to Level 5, the smoothest and most labor-intensive standard.
The amount of natural light from large windows or bright overhead lighting can expose imperfections in seams and surface texture. Glossy finishes on painted surfaces accentuate these imperfections, making them more apparent than if using duller colors or textured finishes.
6. Labor Rates and Project Scheduling
Labor accounts for a significant percentage of the total cost associated with drywall installation estimates. Contractor rates differ depending on location, contractor experience, project complexity, and available skilled help.
Likewise, the schedule depends on how quickly other trades complete their portions of the project. Delays in plumbing or electrical work, for example, can push back everything that follows.
Before signing off on a project, get quotes from a few local drywall contractors. Ask what’s included in each one, including materials, finish level, and labor, so you’re comparing apples to apples instead of just the bottom-line number.
References
Angi: How Much Does Drywall Installation Cost?
Gypsum Association: GA-214-2021 Levels of Finish
Bob Vila: Drywall Cost
Fine Homebuilding: Preparing Framing and Backing for Drywall
Fine Homebuilding: Fire-rated Drywall
0 Comments