
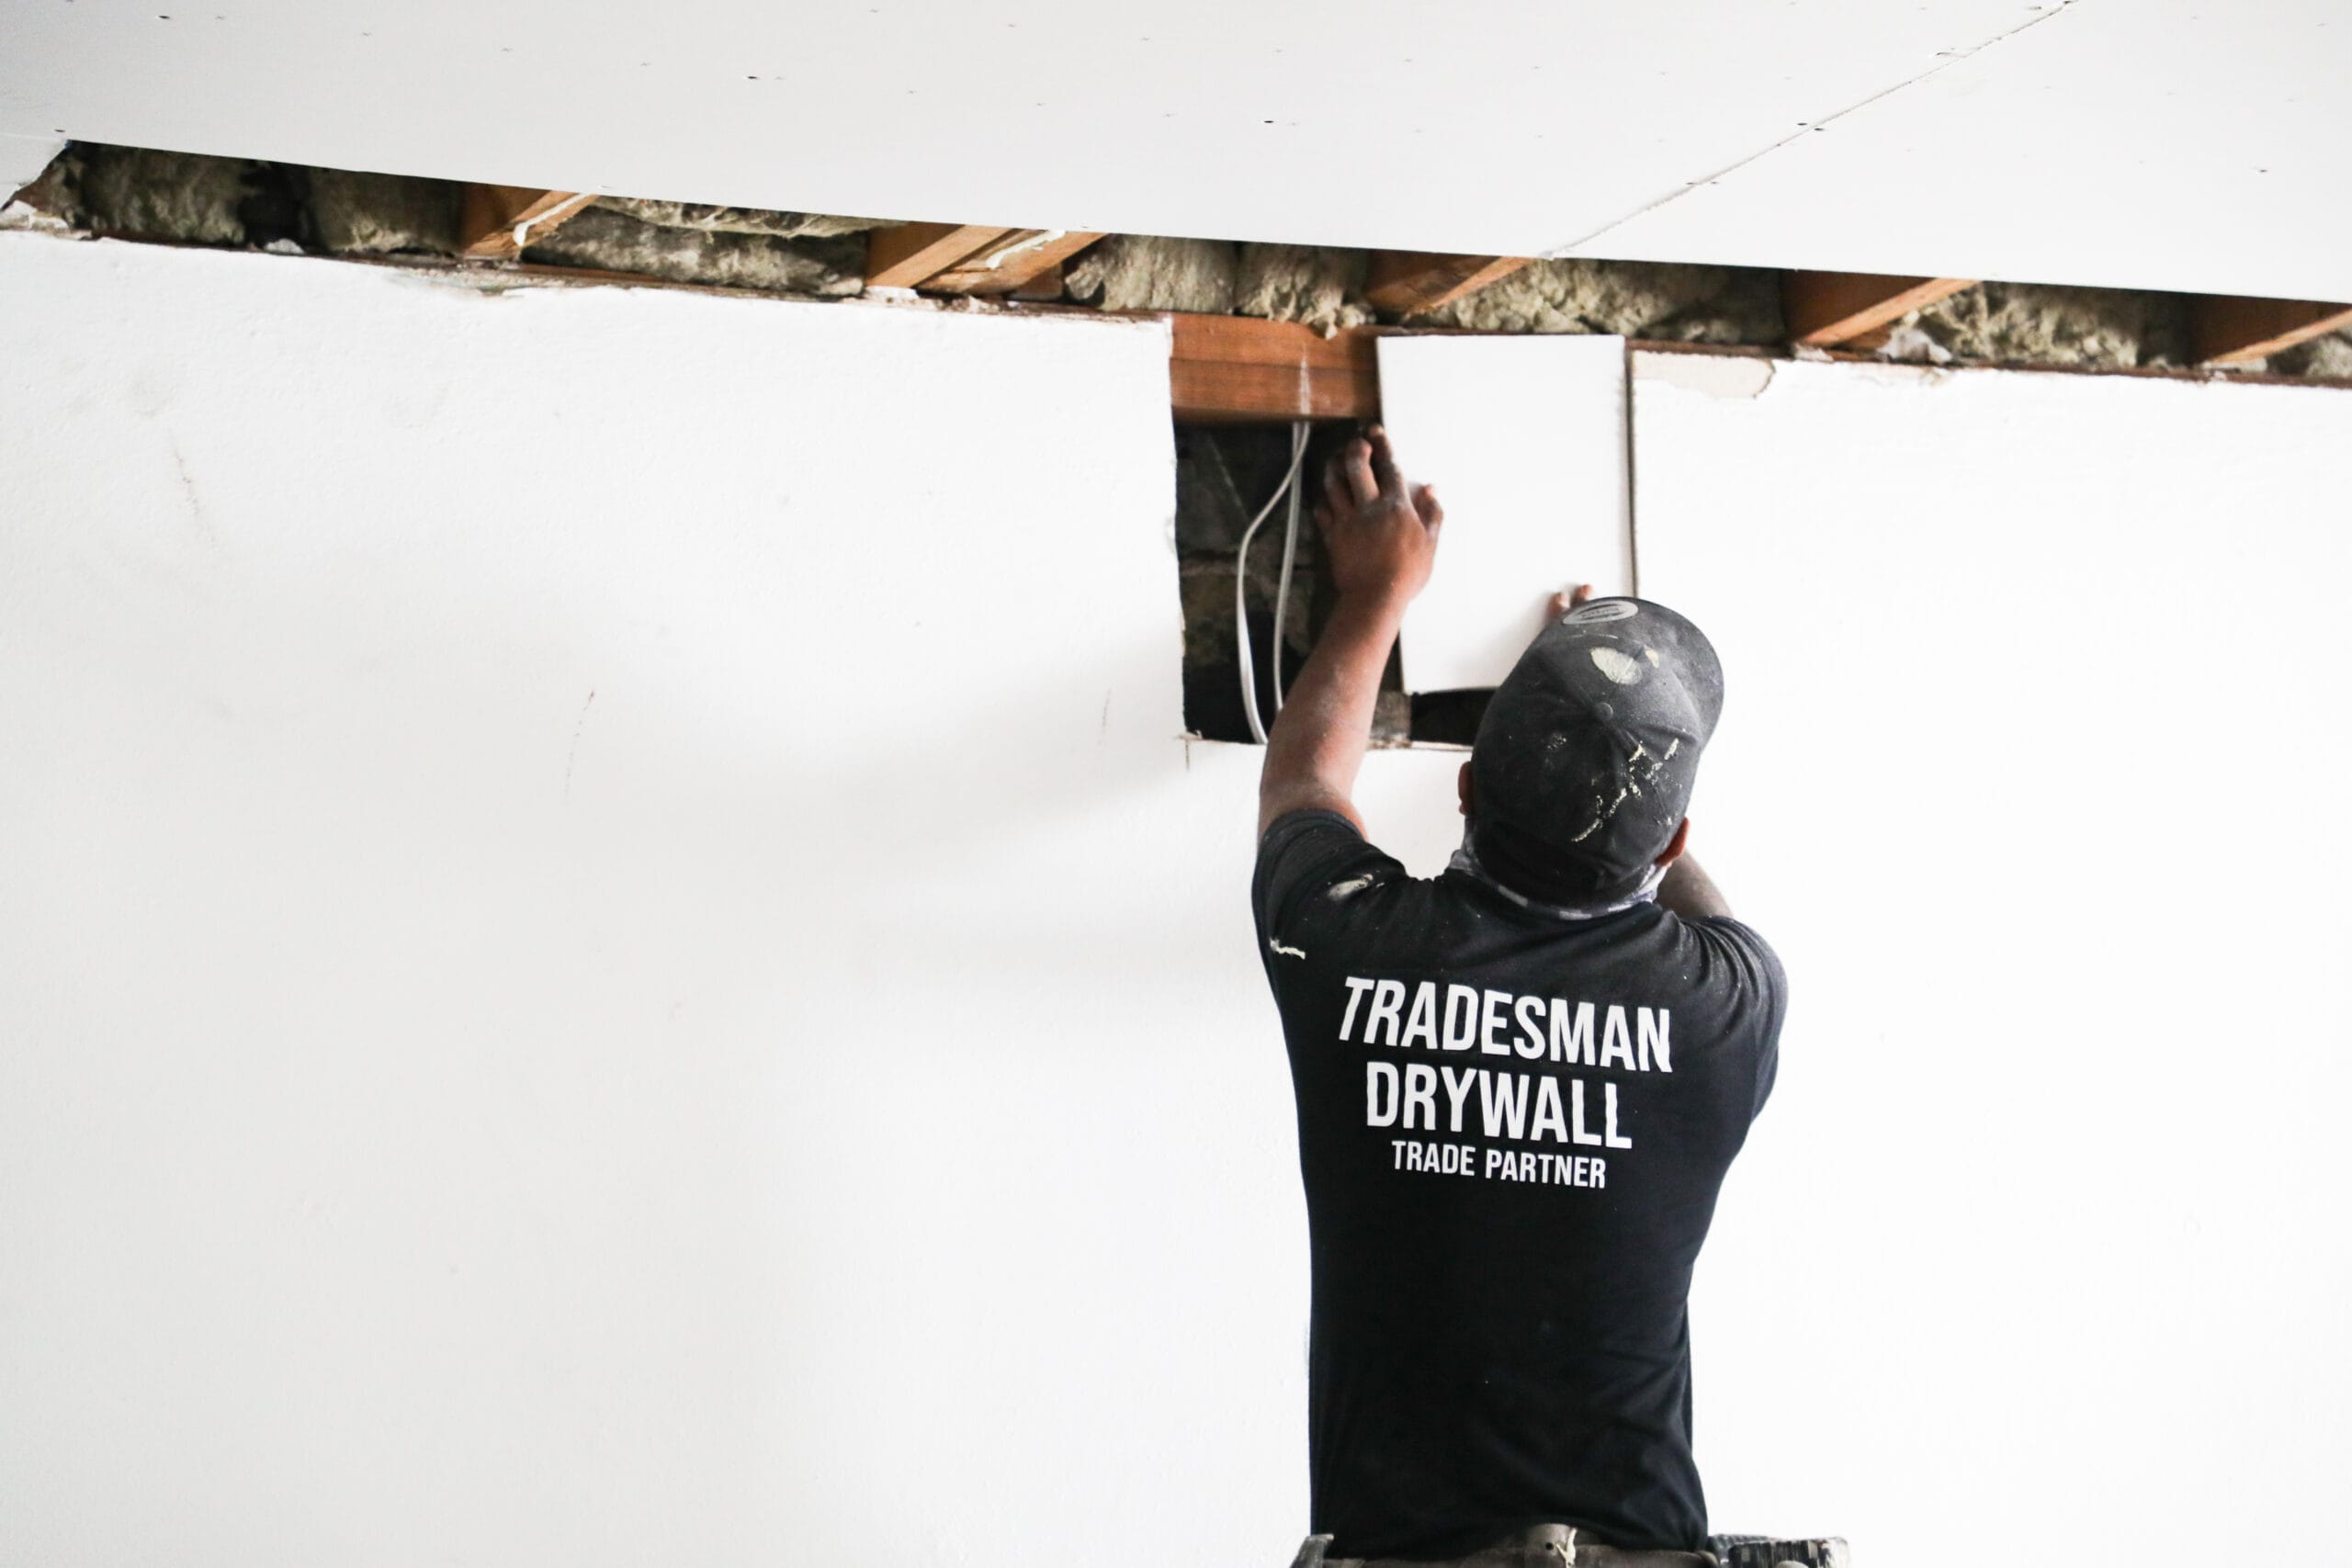
Drywall repair becomes necessary any time plumbers or electricians cut into your walls to complete a job, whether it’s fixing a leaky pipe, running new piping, or installing new wiring. This process leaves holes that, while necessary for the work, create an unfinished area that needs fixing.
Professional drywall repair restores the wall’s strength, gives you a smooth surface again, and lets you blend the repaired area with the surrounding finish.
Why Plumbing and Electrical Work Often Damages Drywall
To locate a leak, replace old plumbing fixtures, or install new fixtures (such as toilets), plumbers often need to cut into the walls. Similar to how plumbers perform their work, electricians have to make cuts in the walls in order to run new wiring for lights or outlets, move electrical switches, upgrade old wiring, or install new lighting systems.
The length of time required to close the opening will depend upon the type of repair. A small electrical access hole may only require a simple patch job, whereas a plumbing repair could affect a large section of drywall. Repairing ceilings is typically more difficult due to gravity causing the finishing process of overhead surfaces to be more labor-intensive.
Even if the mechanical work was completed successfully, the wall will still need attention. If an opening is not closed, it will expose the interior of the wall cavity to dust, and the room will appear incomplete.
What Happens During Drywall Repair?
Quality repairs start with a thorough inspection of the opening and surrounding area. The contractor checks the edges of the opening and determines what additional support the replacement panel will need. They then confirm the area is ready to be closed up.
Before closing the wall back up, plumbing repairs need a confirmed fix with no remaining moisture, and electrical repairs need all wiring fully completed and checked.
Following this, the contractor attaches a drywall patch that fits perfectly around the opening and secures it using some form of backing. Next, they apply joint tape along with compound to strengthen and seal the seam(s). After the compound dries completely, they use a sander to level and refine the area in preparation for finishing.
Why Moisture Matters Before Closing the Wall
Moisture isn’t just a concern for plumbing repairs - if an electrical repair happens near an area that experienced a leak or spill, that moisture needs to be addressed too. When you apply a finish coat over moistened materials, you essentially "lock" those moistened materials in place, creating an environment conducive to mold growth.
According to the United States Environmental Protection Agency (EPA), it is advisable to try to remove excess moisture from affected materials within 24-48 hours of a leak or spill to minimize mold growth. However, actual drying time will depend upon the severity of damage caused by water or the type of materials affected.
Additionally, if the area has swelled significantly, has lost structural integrity, or has severely damaged seams, in most cases it will be better to replace the damaged drywall instead of attempting to patch it. The same applies if there’s evidence of significant water damage or mold; remediation needs to happen before any drywall repair can continue.
Why Professional Finishing Makes a Difference
A patch may seem fine before painting, but differences in texture, uneven compound application, visible seams, and poor sanding can all stand out once the finish is applied.
Achieving consistency in matching an existing wall texture can vary depending on several factors, including the type of existing texture — a smooth wall, a light orange-peel finish, or a heavier textured finish. Each of these textures requires a unique approach to achieve uniform results.
If your recent plumbing or electrical project left holes in your walls and ceilings, contact your local drywall contractors, who can handle the patching, taping, finishing, and surface prep needed to get your walls ready for paint.
References
EPA Mold and moisture guidance
This Old House Patching and texture-matching
Angi Patching drywall holes (DIY vs. professional)
This Old House How to Patch a Textured Ceiling
0 Comments