
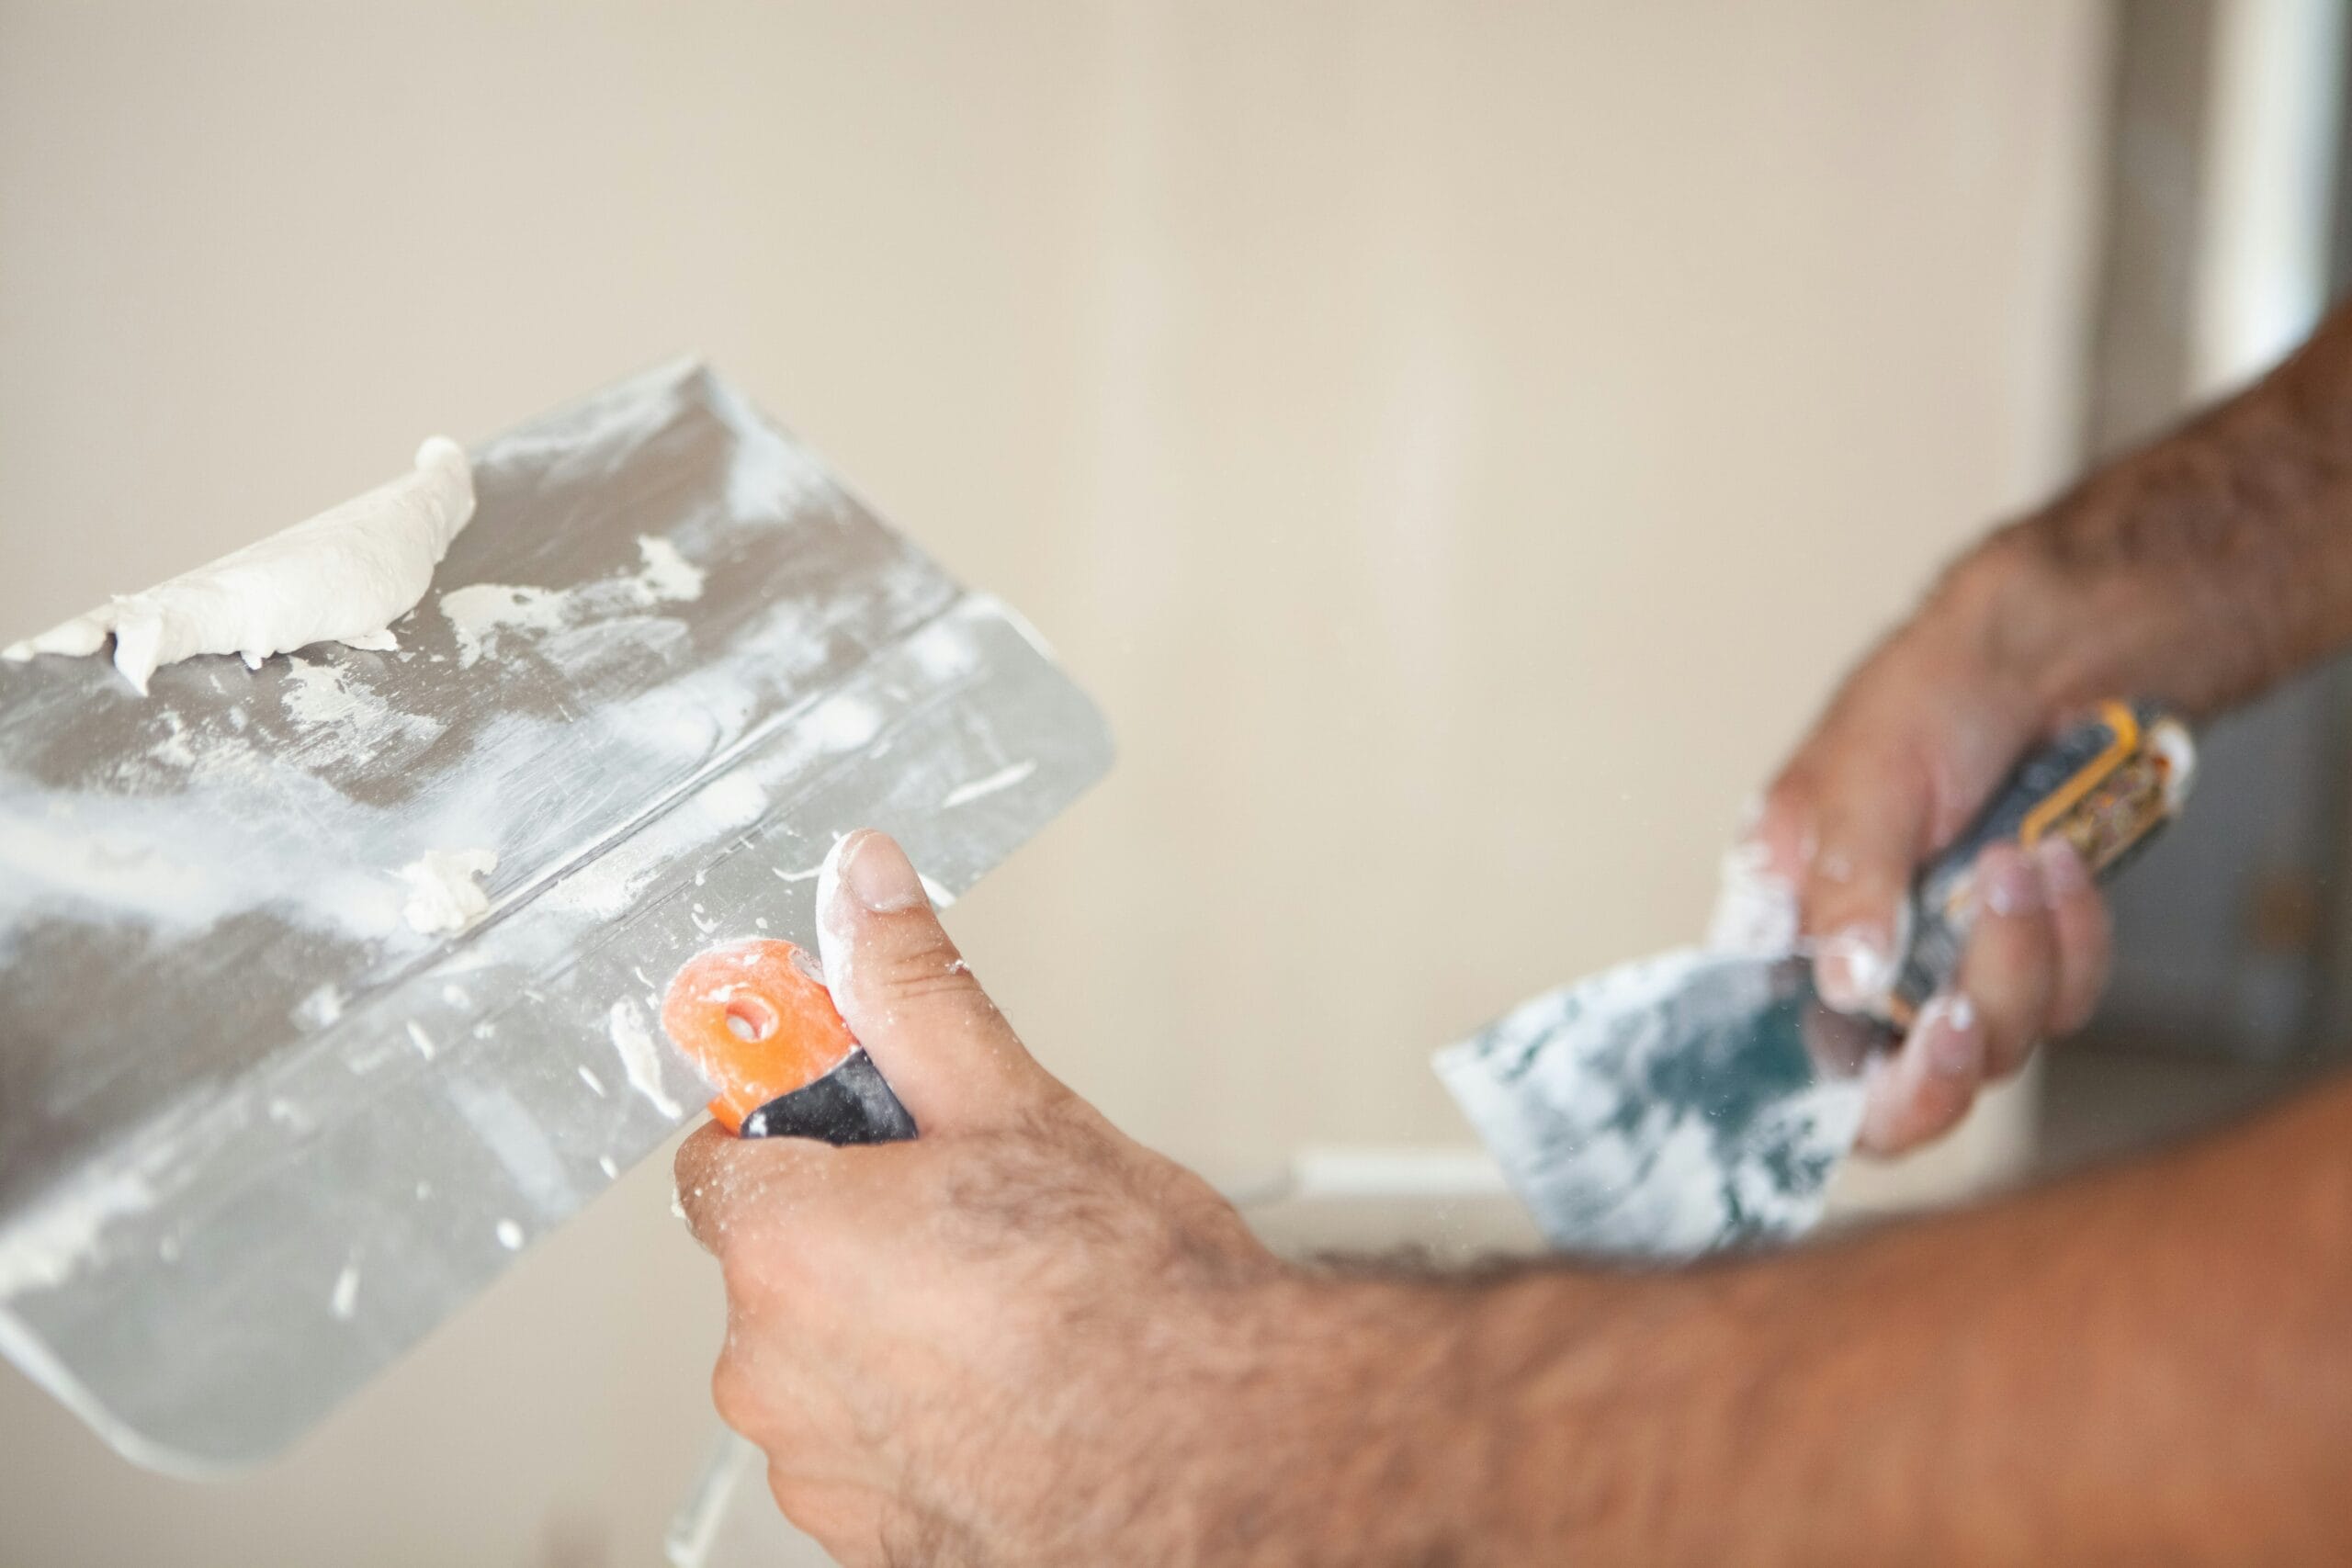
When a drywall repair begins, the size of the area needing removal isn't always as easy to determine. What looks like a minor tear, hole, or water-damage patch may seem like an easy repair. However, when a technician begins removing the damaged section of drywall, they may quickly realize the extent of the damaged area.
Therefore, a professional drywall repair often includes removing more of the drywall than the apparent damage.
A Solid Edge Is Needed to Work With
Damaged drywall rarely stops cleanly at the edges of a hole. Depending upon the type of damage, gypsum within the drywall can be weakened, cracked, or soft throughout the area surrounding the visible damage.
Preserving all of this damaged drywall while attempting to complete a repair leaves professionals with little or no stable edge to attach new drywall. A well-defined, clean, and solid opening provides a reliable attachment point for new drywall and makes completing the finishing process more predictable.
For larger holes and water-damaged areas, USG's installation recommendations suggest removing the entire damaged panel section instead of simply repairing the damaged area.
The Repair Needs Room to Blend
Repairing drywall is not about filling a hole. It should have enough space for the finished product to blend seamlessly into the remainder of the wall.
USG provides examples showing how to create a repair opening slightly larger than the original hole to accommodate fitting the new piece of drywall. In their example, they recommend using a patch 2" larger than the original hole before cutting out an opening to accept it.
This extra space allows us enough room to create a smooth transition between the old drywall and the new replacement piece.
Once the patch is applied, we then use tape and multiple layers of joint compound to complete the repair. Each application of joint compound expands past each previously applied layer, allowing for a gradual disappearance of the transition from the new drywall back into the wall.
Water Damage Changes the Equation
Regardless of how small the water-damaged area appears, if moisture affects other parts of the drywall beyond what is visibly evident, repairing the stained area will not resolve the underlying issue.
Additionally, water-affected materials provide ideal growing conditions for mold. According to the U.S. Environmental Protection Agency, "mold requires water to grow." They recommend that you address water-damaged areas as soon as possible and eliminate the moisture source.
Because of this, professionals consider more than just the appearance of stains. Instead, they are looking at whether the remaining material has sufficient integrity and strength to allow for a repair.
A Bigger Cut Can Mean a Better Repair
Making a hole larger when you're trying to fix a smaller hole seems counterproductive. But in reality, finishing techniques depend on both the quality of the surface adjacent to the repair and the quality of support provided to the repair section. Poorly supported patches or abrupt transitions between old and new sections can become apparent after sanding and painting. USG states that differences in surface texture and porosity can cause repaired areas to be more apparent after decorating, especially in certain lighting conditions.
Using proper technique, including making a clean cut through the damaged drywall, having a solid backing for the patch, correctly installing the patch, and adequately feathering joints with joint compound, greatly improves the chances that repairs made will remain invisible after the completion of decoration tasks such as sanding and painting.
A drywall repair that looks seamless usually involves cutting out more than what was originally visible. If you're dealing with damage at home, it's worth having someone experienced take a look before assuming a quick patch will do the job.
References
USG: How to Repair Large Holes with a California Patch
EPA: A Brief Guide to Mold, Moisture, and Your Home
USG Surfaces and Finishes: How-To Repair Guides
Finishing Gypsum Panels in Cold, Humid, or Critical Light Conditions
0 Comments